CSS: Layout on the Grid
Theory: Working with a grid
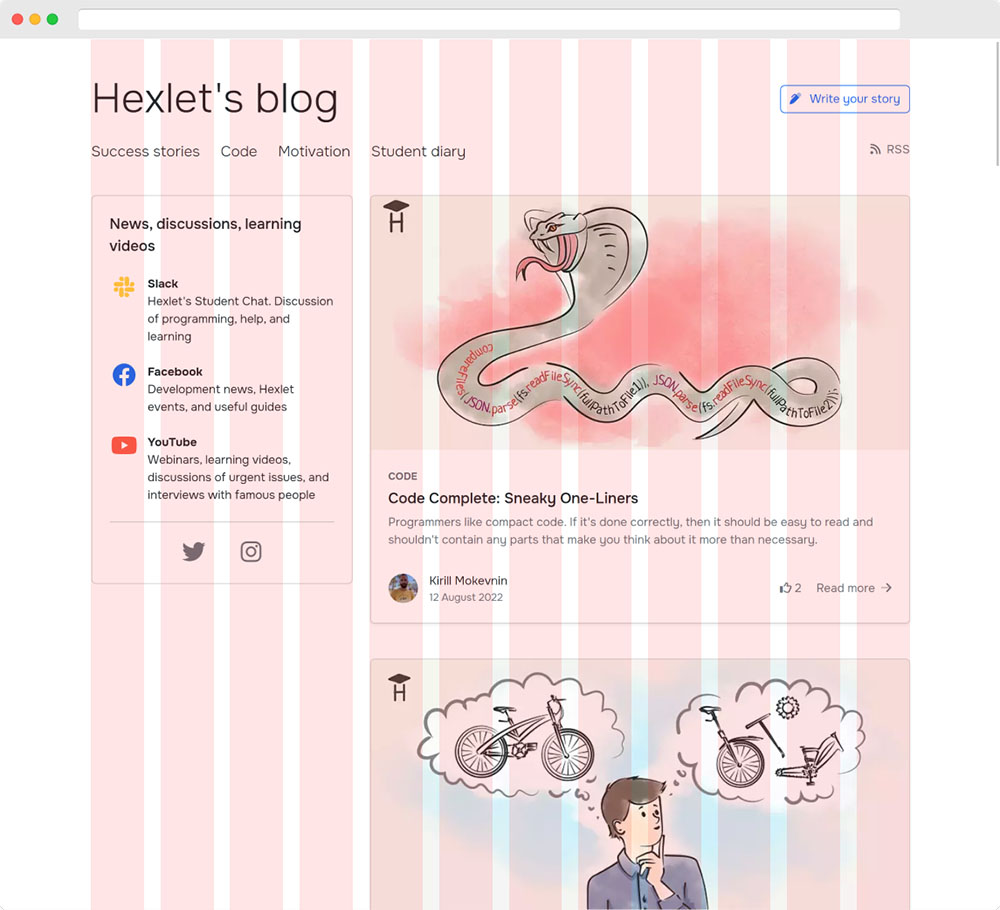
In the lesson on Grid module terminology, we showed you the Hexlet blog and an example of the grid it uses. You may have noticed that in addition to the strips themselves that the content lines up directly alongside, this grid used indents between the bars. They were highlighted in orange in the image.

So what are they for? Often, all of our content inside the cells takes up the full width. In this case, column indentation is a substitute for the margin property, but with one essential condition: the Grid module automatically indents only where necessary. This means that there's no need to override unnecessary margin in the first or last strips of the grid during development.
Separately, it is worth mentioning that these indents do not work - they will be added to the width of the stripes within which the element is located. There will be no indentation inside the element itself.
Let's move on from theory to practice. Let's take one of the examples from the previous lessons. It shows a typical two-column layout, which is often found in development. For convenience, in addition to defining Grid-areas, we'll set the width of each column as 100 pixels in this lesson:
Pay special attention to how the grid-template-areas, grid-template-columns/grid-template-rows properties work together. As you can see, they're not a substitute for each other, they actually work well together.
This example shows a layout consisting of 6 columns. At the moment, there's no indentation between the sidebar and the main content. This usually has a bad effect on the readability of the information in the layout, as the texts in the two different elements start to stick together.
To solve the problem with creating indents between Grid-bars there are 2 properties: grid-column-gap and grid-row-gap. As you can guess from the name, the first property is responsible for the indent between columns, and the second property is the indent between rows. The property's value is any unit available in CSS. Pixels, percentages, or any other unit of measurement.
Create an indentation in our two-column layouts, measuring 30 pixels between columns. To do this, you need to set the container to the necessary value.
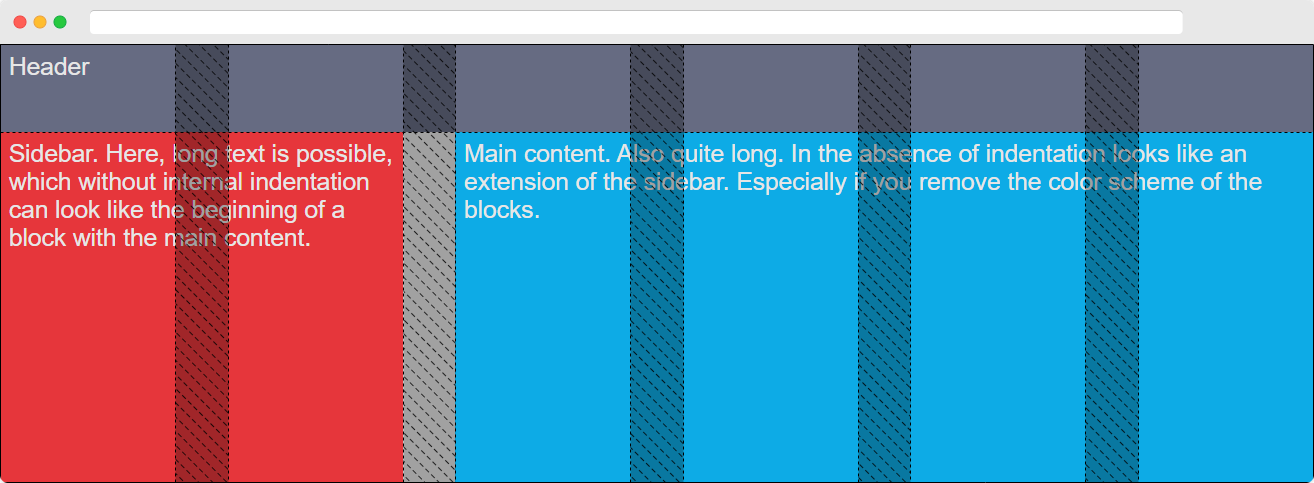
If you look at the resulting layout with Chrome DevTools, we get the following:

Note the indentation between columns and the fact that, despite them being there, no indentation has appeared within the elements. The indentations have become part of our elements. And the required indentation of 30 pixels has appeared between the sidebar and main content.
As it happens, the grid-column-gap and grid-row-gap properties are slowly being removed from the standard. The CSS specification now allows you to set exactly the same indentation in the Flex module to get away from the current problems with negative indentation when creating layouts. Therefore, a decision was taken to make the rules for both Flex and Grid the same. The new versions of the properties got rid of the grid-* and are now simply called column-gap and row-gap.
As of mid-2020, almost all browsers support these properties. The exceptions are older browsers, pre-2018 versions, and Safari, which only knows how to work with grid-column-gap and grid-row-gap. Keep a close eye on this point when you're developing pages. You can always keep track of this information using Can I use, which is an indispensable assistant for any layout designer.
For convenience, the developers of CSS Grid Layout have added a shortened grid-gap property (or simply gap) to allow you to specify the indents between columns and rows in one single property. The grid-gap property can take two values:
- Indent between rows.
- Indent between columns.
If you specify only one value in the property, the browser will set this indent for both columns and rows.
Strip positioning
There are two properties in CSS Grid Layout that allow you to automatically align the strips inside the container. These are the justify-content and align-content properties. Does that remind you of anything? If you've taken the Flex course, you'll have recognized these properties. Now you can see how closely the CSS Flexible Box Layout and CSS Grid Layout modules are related. When you develop with these two modules, you'll often use the same properties, which, as you can easily guess, also have the same values. Let's look at them. As an example, let's take three strips, each with a different color, to see the difference more clearly. The container itself will be painted gray so you can see its width.
justify-content
The justify-content property allows you to align the Grid-bars horizontally. I.e., the columns are aligned with the container. As in the Flex module, the justify-content property can take the following values:
start — is the normal behavior of elements within a container. All of our columns start from the left edge and run horizontally one after another. Examples in this case will be superfluous.
end — With this value, all elements inside the container will be shifted to the right border.
center — As the name implies, all elements inside the container will be centered inside the container.
stretch — This property is the default value when the columns are not set to a fixed width. To visualize this, let's change the example a bit. Let's make columns with an automatic width. Blocks with a dark border are elements in a container. Each element is 40 pixels wide and 40 pixels tall.
Be sure to try changing the justify-content values in this example to see how the elements behave when you use the values you already know.
space-around. Here everything works exactly the same way as in Flex. The space-around value will make equal indentation between columns, and half that distance along the edges of the container.
space-evenly. The value works the same way as space-around with one exception; the indents on the edges of the container are set to full width instead of half the distance between elements.
space-between. With this value, all elements have the same distance between them. There is no indentation from the edges. The first and last element are pressed against the edges of the container. If there are only two of these elements, they will be located on the edges of the container.
align-content
The align-content property is very similar in behavior to the justify-content property. The only difference is the direction of alignment. justify-content aligns the columns inside the container, and align-content aligns the rows inside the container. For demonstration purposes, we'll use an example from codepen, which we'll use to show all the values the property takes.
Recommended programs
Completed
0 / 7

