Modern layout fundamentals
Theory: CSS fundamentals
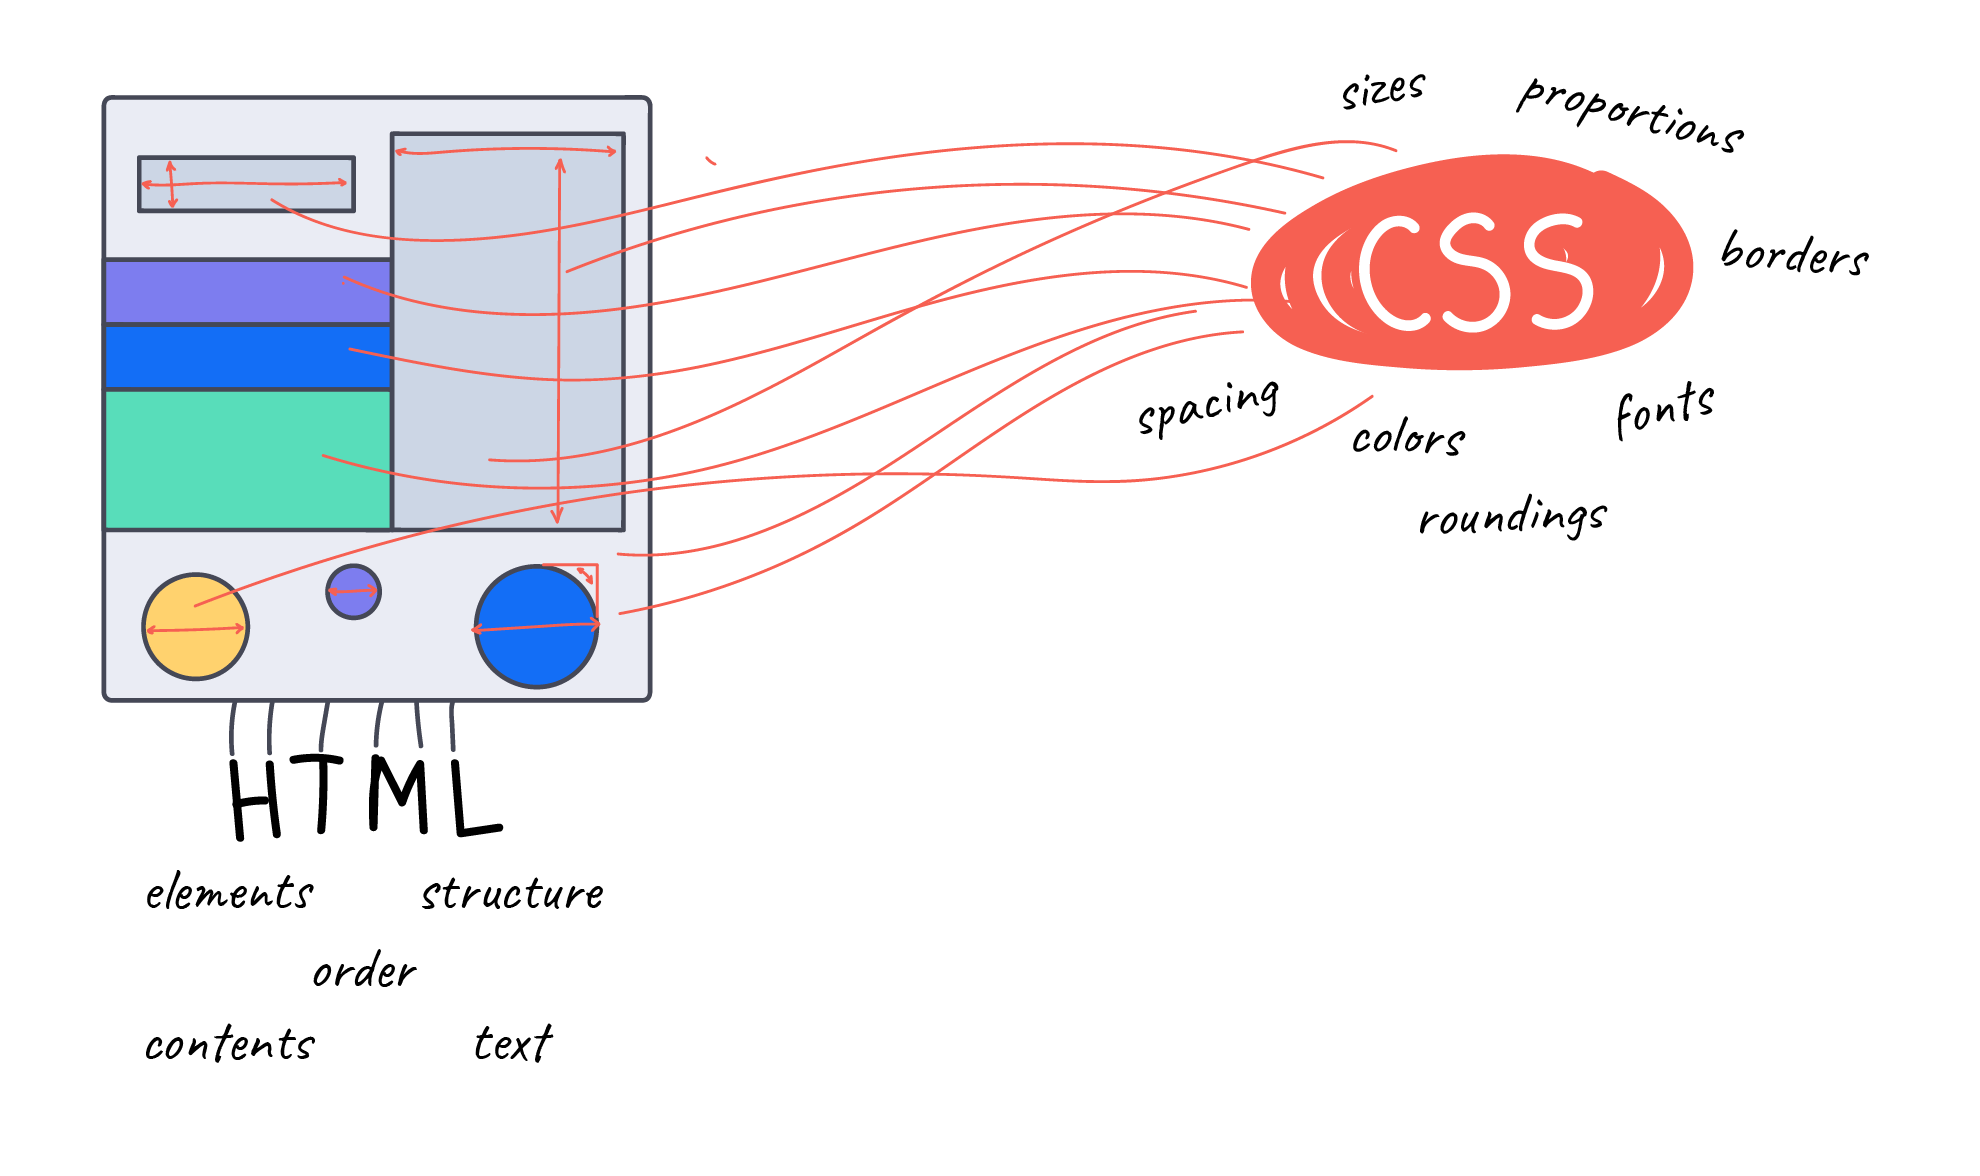
In previous lessons, we learned about markup using HTML. Many of these elements already have some kind of visual design; paragraphs are indented, links are underlined and colored, and headings are set to different font sizes. Usually, this is not enough to create full-fledged modern sites. Some styles just don't suit us, and some elements we want to style separately.
The CSS language was created to help visually design web pages. CSS stands for Cascading Style Sheets. It's this language that's responsible for the way our HTML elements will be rendered for the user in the browser.
In this lesson, we'll break down the style sheets part of "cascading style sheets". What cascading is and how it works is something you'll read about in the next lesson.
CSS Styles
Any CSS styles, be they text color or entire animations, are written using the same formula: style name: value;.
To add a style to an element, you must use a selector. It specifies which element(s) to add our styles to. Let's take the following HTML markup as an example:
Change the font size and color in this sentence. This can be done with the following CSS notation:
What does this mysterious entry above mean? It can be divided roughly into three main components:
pis a selector. Here we're telling the browser to select all the paragraphs on the page. We'll talk about what kinds of selectors there are a little later- Curly brackets
{ }. They separate the selector from the rules. All rules are written inside these curly brackets - Properties. These are written according to the scheme below. The more you practice, the more different properties and values you'll learn. Don't try to learn them all at once. Always use documentation. Even experienced developers resort to it to remember the correct values for one property or another

Let's look at some properties that will help you design your text:
font-size. This property allows you to set the font size. Over time, you will learn many different units you can use to write the value. Use pixels to start. It's a fairly straightforward unit of measurement that doesn't depend on what other styles are set for the textcolor. This property helps you to set a new color value for the selected text. Color can be given in different ways. In addition, there's a large set of colors you can just write the name of in words. This is a great way to get to know the color property. You can look at how it's all written heretext-align. A property that sets the position of the text. It can take one of the following values: left, right, center, justify
Linking CSS to HTML
There are several ways to use CSS on a page:
- using a special file
- using the
<style>tag in the HTML markup - writing the styles directly in the required tag This method is called inline notation
Let's deal with each method separately.
Using a separate CSS file
This method is one of the most convenient ones when it comes to actual development. Since there are usually a lot of styles in a given project, keeping them in an HTML file is not very fitting. This is because HTML files can get quite large, making it impossible to navigate them. To avoid this, you can create a separate CSS file. This file will have the .css extension, but the name can be anything you like.
Let's imagine a separate directory with the project has been created on our computer. It may look as follows:
site/
├── css/
│   ├── main.css
├── html/
│   ├── index.html
Let's add some basic information to the index.html file:
Now we need to include the main.css file in our index.html file. We use a special link tag for this purpose. In this tag, you need to specify the href attribute, whose value will be the path to main.css. The link tag is specified in the head section.
Let's take a closer look at this entry: ../css/main.css. It can be roughly divided into three components:
../- go up one directory. Initially, the index.html file is in the html directory, so we exit it into the site directorycss/- go to the css directorymain.css- specifies the name and extension of the file we want to include
If our index.html and main.css files were in the same directory, the link would look like this: href="main.css".
Once the file is connected, we can write all the desired styles in main.css itself. They will automatically apply to our markup.
Using the style tag
The second way to use CSS is to use styles in a special style tag. There is no need to create a separate file and connect it to the HTML. In this case, the style tag is usually given in the head section. Although it's not strictly necessary, it's preferable to adhere to this structure.
This method isn't the main one, but it's recommended for certain cases. This allows some styles to be displayed before the CSS file is loaded. You'll find out what styles you should be using as you progress on your way toward becoming a professional.
Inline styles
The last way of using CSS is via inline styles. They are connected using the style attribute in any tag in the markup. This is the least preferred way. It's hard to read, especially if the tag has a dozen styles. Also, you can't write styles in such a way that it affects all the tags at once, for example, if you specify a style for one <p> tag, it won't affect all the other <p> tags. You have to set each one separately. This will lead to having to constantly copy the styles.
Let's take the last example and add inline styles:
Selectors
Selectors are the cornerstone of all of CSS.
"The styles aren't as important as that to which they are applied" © Folk Wisdom
You can choose the elements to which the styles will be applied using selectors. This is an extremely powerful and flexible tool that enables you to choose not just by tag, but also by class, ID, mouse hovering, different attributes, or simply select only even or odd elements, etc.
Each selector is a topic for an entire course. Currently, we're interested in three main selectors, which can call basic selectors:
- Tag selector. We used this selector throughout the whole lesson. The goal is simple: simply specify the tag that the styles will be applied to
- Class selector. If you only want to select specific elements in HTML, you can give the tag a class with whatever name you like and add styles using the .class-name construct
- ID selector. This is another case of selecting by an additional attribute of a tag. The main difference is in the HTML itself - the ID cannot be repeated within the same page. Each name can be used only once. Because of this, there's no way to set styles for an identifier and then use it on other elements. To select an ID, we use the construction #id-name, i.e., a # followed by the name of the ID
Let's look at all three selectors with a real example:
index.html
main.css
After applying these styles, you'll get the following:
- Black background in the
mainsection. We used content class and the.contentselector for this - The first level header is white, with a font size of 20 pixels, and is centered. The header has the ID main-title, so we were able to use the
#main-titleID selector to add styles - All paragraphs will have white text. The tag selector was used for this purpose
Nesting selectors
When it comes to real development, it isn't always possible to use only these three kinds of selectors in the way that you've just learned. We often need to limit the area to which the styles will be applied. Let's look at an example.
How do you get more news headlines? You can add a different class for each headline in the news. This is a good solution if you don't have a lot of news or if you don't need to enter new header styles for each section like this.
A simpler solution would be to use nested selectors. First, let's see how to solve our problem:
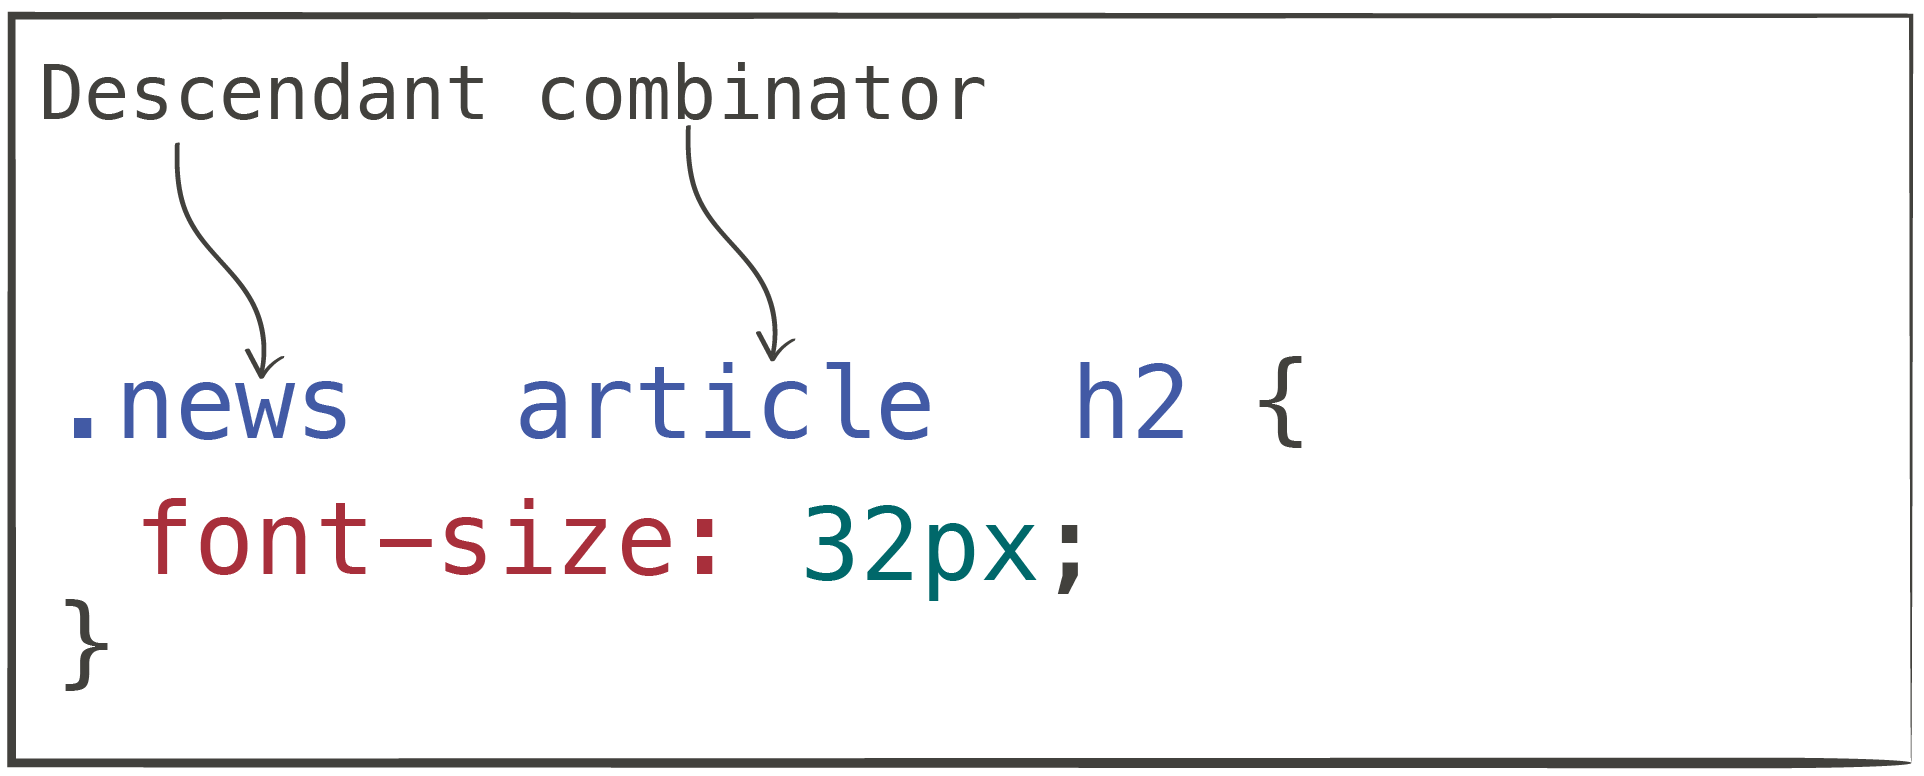
Let's look at what kind of selector was given. Here we specified a combination of three selectors: .news, article, and h2. You already know each of them individually. By separating them with a space, we've told the browser to "take all the h2 headers from the article that's inside the element with the news class, and apply styles to it." Read the selectors from right to left. This approach is called selector nesting. You can combine anything and go as deep as you like.
It's important to note that for convenience's sake, don't use too much nesting. Try to nest no more than 2 or 3 selectors.
It's important to understand that notation like .news article h2 will select all second-level headers in all article tags that lie within the block with the .news class. Let's modify the layout a bit to check it out.
We've added a "Related news" block to the second bit of news. The best part is that our font-size: 32px; the rule will apply to both the "Related News" title and the "Related News №1" title. This is so that both headers, which are in the block with the .news class, are somehow included within the article tags.
This type of selector is called a context or descendant selector. We use it to select all the descendants that are found inside the selector on the left.
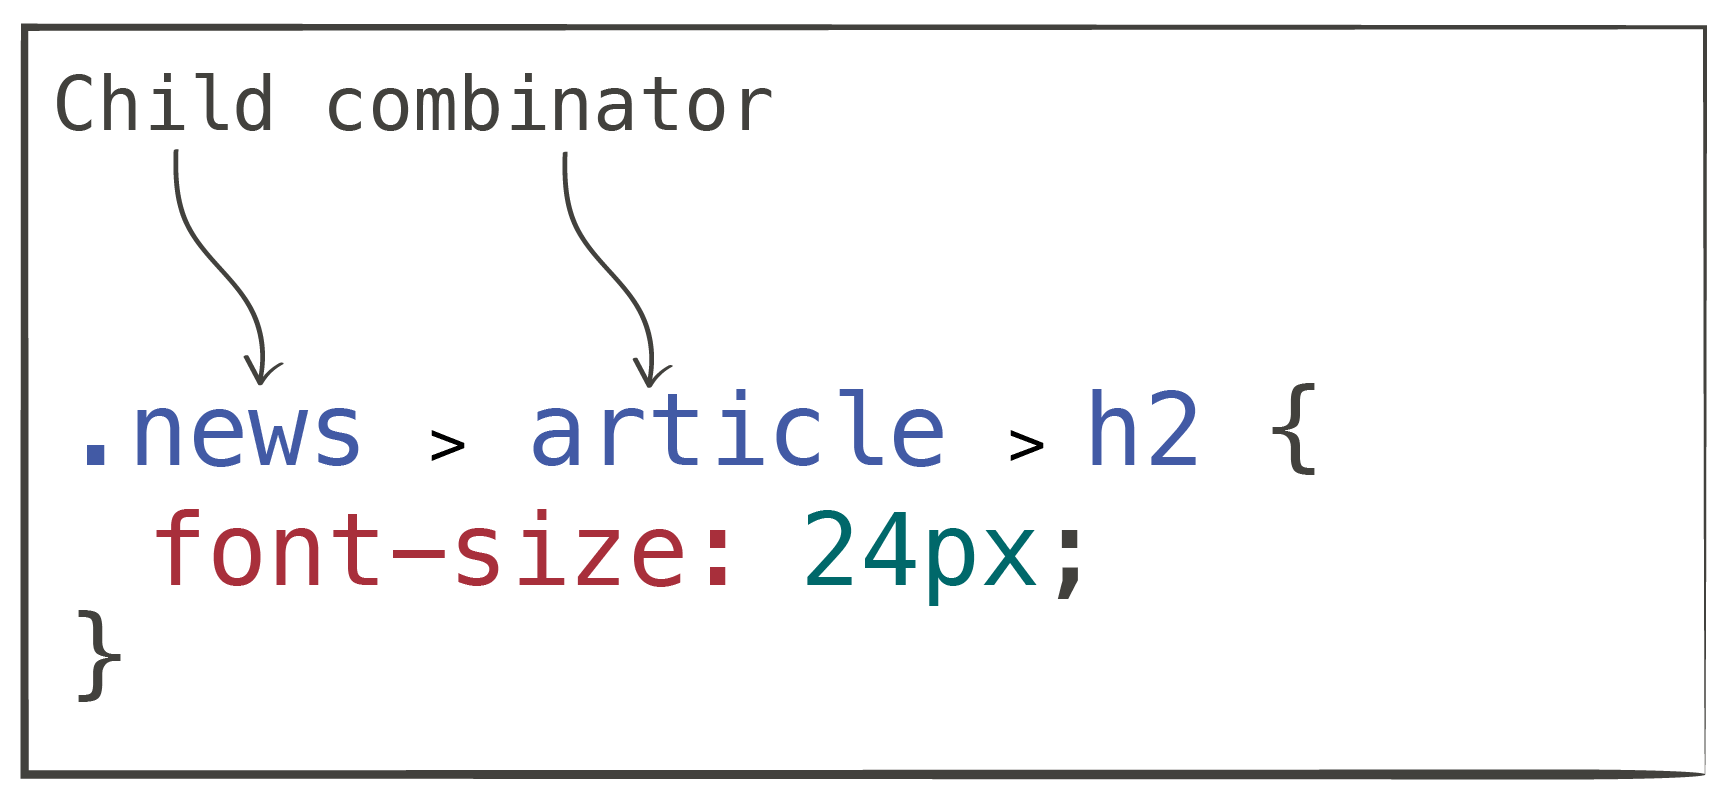
So, how do we select only those headlines that relate directly to the news and not to similar news or headlines in other sections? This is where the child selector comes in. Its purpose is to select only those elements that are directly inside the block we need. Without taking into account all the other nesting. We use the > symbol to specify this selector. Let's specify that we need only those article tags that are inside .news, and we need the headlines that are inside those article tags. This is done as follows:
Now, the font size for the "Related News" and "Related News №1" headers will not be increased because we've given a more specific selector.